Creating your own bread bags is a practical and eco-friendly way to store homemade or store-bought bread. These bags help keep your bread fresh while reducing plastic waste.
This guide provides straightforward instructions to make reusable bread bags using basic sewing techniques and materials.
Creating Your Own Bread Bags
Making your own bread bags is a wonderful way to combine creativity with practicality.
These bags not only help keep your bread fresh but also contribute to a more sustainable lifestyle by reducing reliance on plastic.
With just a few materials and some basic sewing skills, you can create a reusable bag that reflects your personal style.
Materials Needed
To get started, gather the necessary materials.
You will need one yard of cotton or linen fabric, which is both durable and washable.
Matching thread, a sewing machine or needle for hand sewing, scissors, measuring tape or a ruler, pins or fabric clips, and an iron are also essential for this project.
Choosing the right fabric can enhance the aesthetic of your bread bag while ensuring it serves its purpose effectively.
Natural fibers like cotton are breathable, which helps maintain the freshness of your bread.
Step-by-Step Instructions
Begin by cutting two pieces of fabric, each measuring 12 inches by 18 inches.
This size is ideal for a standard loaf of bread.
Once cut, place the fabric pieces right sides together and secure them with pins or clips along the edges.
Next, sew along the sides and bottom of the fabric, leaving the top open.
A 1/4 inch seam allowance is recommended for durability.
After sewing, fold the top edge down about 1 inch and press it with an iron to create a hem. Sew along this folded edge to secure it.
Finishing Touches
Once the bag is sewn, turn it inside out so the right side is facing out.
Press the bag again with an iron to smooth out any wrinkles.
For an added touch, consider creating a drawstring by cutting a piece of fabric or ribbon, threading it through the hem, and tying it to secure the bag.
Time Commitment
This project is relatively quick, taking about an hour from start to finish.
With 10 minutes for preparation and 50 minutes for sewing, you can easily fit this into your day.
Making multiple bags at once can be a fun way to spend an afternoon.
Personalizing Your Bread Bag
One of the joys of creating your own bread bag is the ability to customize it.
Choose fabrics that match your kitchen decor or reflect your personality.
You can also adjust the size of the bag to accommodate different types of bread, from baguettes to loaves.
Adding personal touches, such as embroidery or fabric paint, can make your bread bag even more unique.
This not only enhances its visual appeal but also makes it a delightful gift for friends and family.
DIY Bread Bag Tutorial
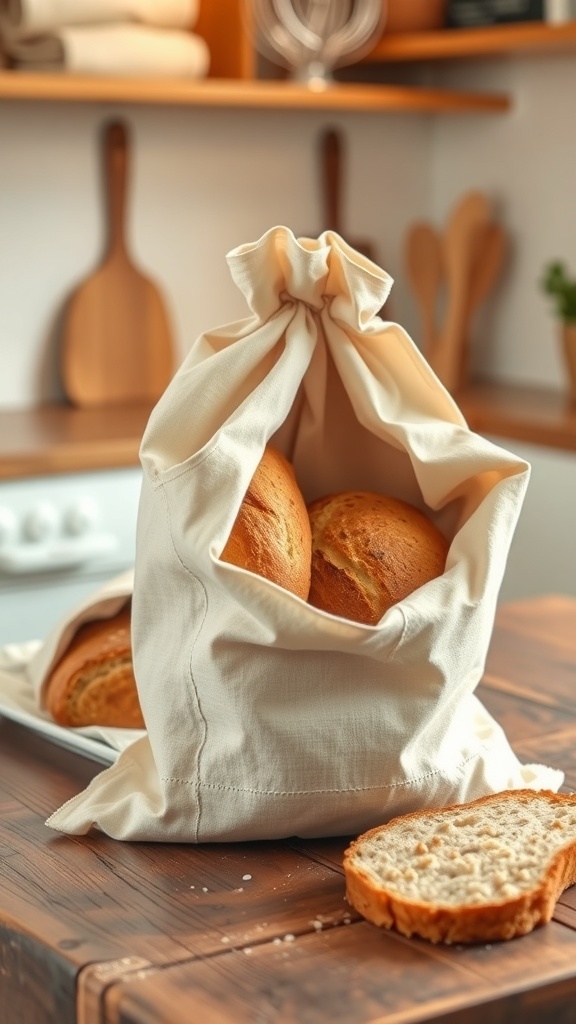
These homemade bread bags are designed to be durable and washable, making them perfect for daily use. The project takes about an hour to complete and can be customized in size and fabric to suit your needs.