If you’re in Zone 9 and dreaming of plump, flavorful garlic bulbs, you’re in luck! Growing garlic in this region can yield amazing results with the right techniques and care. This guide will walk you through the essential steps, from selecting the right varieties to planting and harvesting your garlic.
Garlic is not just a kitchen staple; it’s also a rewarding plant to cultivate. With its robust flavor and numerous health benefits, homegrown garlic elevates any dish. Whether you’re a seasoned gardener or just starting, this guide will provide you with the knowledge you need to grow your own garlic in Zone 9.
Creating the Perfect Environment for Garlic
Garlic flourishes in Zones with mild winters and warm summers, making Zone 9 an ideal location. The key to a successful garlic garden is ensuring your soil is well-draining and rich in organic materials.
Loamy soil, which is a mix of sand, silt, and clay, provides excellent drainage while retaining the necessary moisture for healthy growth. To prepare, incorporate plenty of organic compost to enhance fertility and structure, resulting in a thriving garlic plant.
Selecting the Right Garlic Varieties
When it comes to growing garlic, the choice of variety can significantly impact your harvest. In Zone 9, softneck varieties like ‘California Softneck’ perform particularly well due to their adaptability to warmer climates.
Hardneck varieties, such as ‘Creole’, can also be a great option, offering robust flavors and unique characteristics. Selecting the right type ensures optimal growth and flavorful bulbs at harvest time.
Planting Techniques for Success
Proper planting techniques are vital for achieving a bountiful garlic harvest. Begin by breaking apart the garlic bulbs into individual cloves, each of which will sprout into a new plant.
For best results, plant the cloves about 2 inches deep and spaced 4 to 6 inches apart. Timing is essential, with planting typically occurring in fall, ideally around October or November, to allow the bulbs to establish before winter.
Watering and Mulching for Healthy Growth
Watering is a critical aspect of garlic cultivation. After planting, ensure the soil remains moist without becoming waterlogged. Maintaining the right moisture levels supports the development of strong roots and healthy plants.
Applying a layer of mulch, such as straw or wood chips, helps retain moisture in the soil while suppressing weed growth. This practice not only conserves water but also contributes to a nutrient-rich environment for the garlic plants.
Fertilization and Pest Management
As spring approaches and garlic begins to grow, consider fertilizing with a balanced organic fertilizer. This ensures that your plants receive the necessary nutrients to thrive during their most active growing period.
It’s also essential to monitor your garlic plants for pests. Common issues can include aphids or garlic moths. Implementing natural pest management strategies can safeguard your plants while promoting a healthy garden ecosystem.
Harvesting and Enjoying Your Garlic
Knowing when to harvest garlic is crucial for maximizing flavor and quality. Generally, garlic is ready for harvest when the bottom leaves turn brown, typically occurring in late spring to early summer.
To harvest, gently lift the bulbs from the ground using a garden fork or by hand, taking care not to bruise them. After harvesting, allow the bulbs to dry in a shaded, airy spot before storing, ensuring you can enjoy the fruits of your labor for months to come.
Essential Tips for Growing Garlic in Zone 9
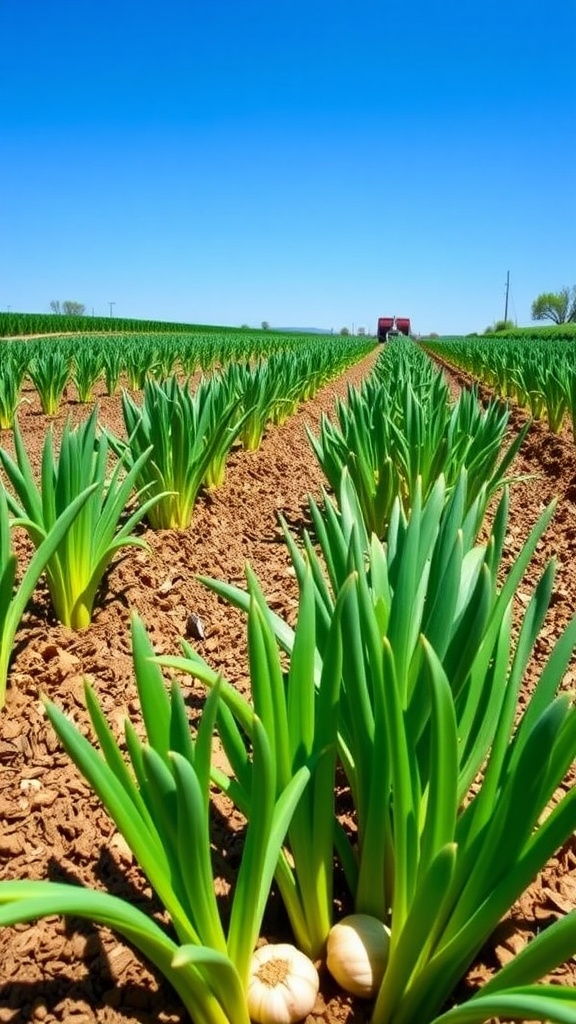
Garlic thrives in Zone 9 due to the mild winters and warm summers, making it easier to produce large, flavorful bulbs. With a little patience and care, you’ll be able to enjoy fresh garlic straight from your garden.
This guide covers everything from soil preparation to pest management, ensuring your garlic plants grow strong and healthy.
Ingredients
- Garlic bulbs (choose from hardneck or softneck varieties)
- Well-draining soil (loamy or sandy)
- Organic compost
- Mulch (straw or wood chips)
- Watering can or irrigation system
Instructions
- Select the Right Variety: Choose garlic varieties suited for warmer climates, such as ‘California Softneck’ or ‘Creole’.
- Prepare the Soil: Garlic prefers well-draining soil rich in organic matter. Amend your soil with compost to improve fertility.
- Plant the Garlic: Break apart the garlic bulbs into individual cloves. Plant them 2 inches deep and 4 to 6 inches apart in the fall, ideally around October or November.
- Watering: Water the garlic thoroughly after planting and keep the soil moist but not waterlogged during the growing season.
- Mulching: Apply a layer of mulch to retain moisture and suppress weeds.
- Fertilization: Fertilize with a balanced organic fertilizer in early spring as growth begins to accelerate.
- Harvesting: Garlic is usually ready to harvest in late spring to early summer when the bottom leaves turn brown. Gently lift the bulbs from the soil and allow them to dry.
Cook and Prep Times
- Prep Time: 15 minutes
- Grow Time: 6-8 months
- Total Time: 6-8 months
- Health Benefits: Rich in antioxidants and known for its medicinal properties, garlic can boost your immune system and contribute to heart health.