This Christmas tree painting project is a fun and creative activity perfect for the holiday season. Using simple materials like canvas, acrylic paints, and brushes, you can create a beautiful festive artwork to decorate your home.
The process is straightforward and suitable for all skill levels, making it a great family activity or a way to unwind during the busy holiday season.
Setting Up Your Painting Space
Creating a vibrant Christmas tree painting begins with preparing your workspace. Choose a flat surface where you can comfortably work without interruptions.
Gather all necessary materials, including your canvas, acrylic paints, and brushes. Having everything at hand will streamline the process and make it more enjoyable.
Consider using an old tablecloth or newspaper to protect your workspace from paint spills. This will allow you to focus on your artwork without worrying about the mess.
Sketching the Christmas Tree Outline
Once your workspace is ready, it’s time to sketch the outline of your Christmas tree. Using a pencil, lightly draw the shape on your canvas.
Focus on creating a balanced and symmetrical tree. This initial sketch will serve as a guide for your painting, so take your time to get it right.
Don’t forget to include space for decorations and the star on top. This will help you visualize the final look of your artwork.
Painting the Tree
With your outline in place, start painting the tree. Use a larger brush to apply a base coat of green paint for the main shape.
Once the base is dry, switch to a smaller brush for adding details. Layer different shades of green to give the tree depth and dimension.
Feel free to experiment with colors for a unique touch. Mixing in some lighter greens or even hints of blue can create a more dynamic appearance.
Adding Ornaments and Decorations
After the tree is fully painted, it’s time to add ornaments. Choose vibrant colors for the decorations to make them stand out against the green tree.
Consider using red, gold, and silver for a classic holiday look. Don’t forget to paint a shining star at the top to complete the festive feel.
Take your time with this step, as the decorations are what will truly bring your painting to life.
Creating the Background
The background plays a crucial role in setting the mood of your painting. For a snowy landscape, use white and light blue tones to create a serene winter scene.
Blend the colors smoothly to mimic the look of a snowy night. You can also add twinkling stars in the sky using a small brush or even a sponge for a more textured effect.
Feel free to get creative with the background. Adding a moon or additional elements can enhance the overall composition.
Final Touches and Drying
Once you’re satisfied with your painting, add any final details or highlights. This could include snowflakes on the tree or additional stars in the sky.
Allow your painting to dry completely before displaying it. This will ensure that the colors remain vibrant and the artwork retains its beauty.
Once dry, find a special place in your home to showcase your festive creation, bringing holiday cheer to your space.
Easy Christmas Tree Painting Project
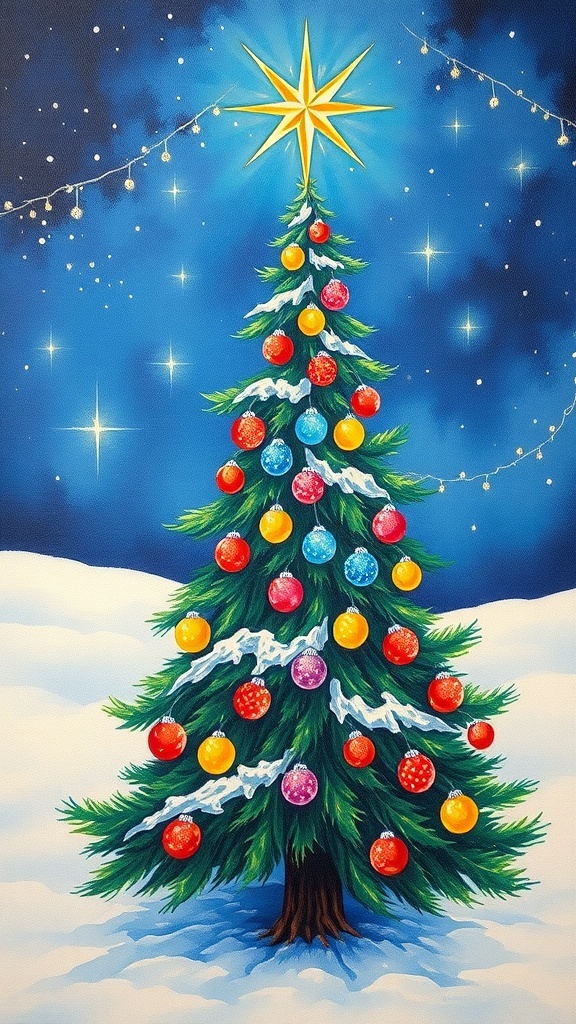
This painting project involves layering colors to create a vibrant Christmas tree design. It typically takes about 1-2 hours to complete, depending on your painting style and drying times.