This 24-hour Dutch oven bread is a simple and rewarding recipe that yields a crusty, artisan-style loaf with minimal effort. The long fermentation process enhances the flavor and texture, making it a favorite among home bakers.
With just a few basic ingredients and a Dutch oven, you can create a delicious bread that is perfect for sandwiches or served alongside soups and salads.
Creating the Perfect Dutch Oven Bread
Crafting a loaf of Dutch oven bread is a delightful experience that combines simplicity with rewarding results. The process begins with just a few basic ingredients: flour, salt, yeast, and water. This straightforward approach allows bakers of all skill levels to produce a rustic loaf that boasts a crispy crust and a soft, airy interior.
The magic lies in the long fermentation process. Allowing the dough to rise for an extended period enhances the flavor profile and texture, resulting in a bread that is not only delicious but also visually appealing. The golden-brown crust, with its artisanal appearance, is sure to impress anyone who lays eyes on it.
The Art of Dough Preparation
Mixing the dough is the first step in this rewarding process. In a large bowl, combine the flour, salt, and instant yeast. The addition of room temperature water transforms these dry ingredients into a shaggy dough. Covering the bowl with plastic wrap or a kitchen towel is essential to retain moisture and promote fermentation.
After mixing, the dough requires patience. Allow it to rise at room temperature for 12 to 18 hours. During this time, the surface will become dotted with bubbles, and the dough will double in size, indicating that it is ready for the next step.
Shaping and Baking the Bread
Once the dough has risen, it’s time to shape it. Lightly flour a clean surface and turn the dough out onto it. With floured hands, gently shape the dough into a ball, taking care not to deflate it too much. A brief resting period of about 15 minutes allows the gluten to relax, making it easier to handle.
Preheating the Dutch oven is a crucial step that cannot be overlooked. About 30 minutes before baking, place the Dutch oven (with its lid) in the oven and set the temperature to 450°F (232°C). This ensures that the bread will bake evenly and develop that coveted crust.
The Baking Process
Carefully remove the hot Dutch oven from the oven to begin the baking process. Placing the dough into the pot can be done directly or with the help of parchment paper for easier handling. Cover the pot with the lid and bake for 30 minutes. This initial covered baking creates steam, which is vital for achieving a crusty exterior.
After the first phase, removing the lid allows the bread to brown beautifully. Continue baking for an additional 15 to 20 minutes, or until the loaf reaches a golden hue and sounds hollow when tapped on the bottom. This is the moment when the aroma fills the kitchen, creating an inviting atmosphere.
Cooling and Slicing
Once the bread is baked to perfection, it’s important to let it cool completely on a wire rack. This step is essential for achieving the best texture and flavor. Slicing into the warm loaf too soon can result in a gummy interior, so patience is key.
After cooling, the bread reveals its soft, airy interior, perfect for sandwiches or served alongside soups and salads. The rustic appearance and delightful aroma make this loaf a centerpiece in any kitchen setting.
Enjoying Your Homemade Bread
Homemade Dutch oven bread is more than just a recipe; it’s an experience that brings warmth and comfort to any meal. The satisfaction of pulling a freshly baked loaf from the oven is unmatched. Whether enjoyed plain, with butter, or as part of a hearty meal, this bread is sure to be a hit.
With minimal effort and a bit of time, you can create a loaf that not only looks impressive but also tastes incredible. Share it with family and friends, or savor it yourself—either way, this Dutch oven bread is a delightful addition to your culinary repertoire.
Easy 24-Hour Dutch Oven Bread
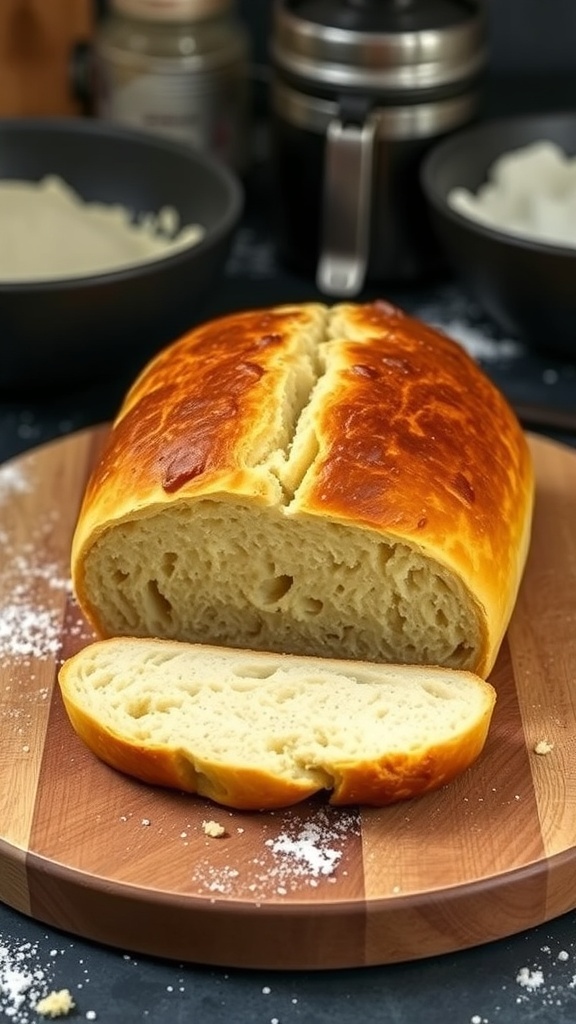
This recipe produces a rustic loaf with a crispy crust and soft, airy interior. The dough requires an overnight rise, making it convenient for baking fresh bread with minimal hands-on time.
Ingredients
- 3 cups all-purpose flour
- 1 1/4 teaspoons salt
- 1/4 teaspoon instant yeast
- 1 1/2 cups water at room temperature
Instructions
- Mix the Dough: In a large bowl, combine the flour, salt, and instant yeast. Add the water and stir until a shaggy dough forms. Cover the bowl with plastic wrap or a clean kitchen towel.
- Let it Rise: Allow the dough to rise at room temperature for 12-18 hours, or until the surface is dotted with bubbles and the dough has doubled in size.
- Shape the Dough: Lightly flour a clean surface and turn the dough out onto it. With floured hands, shape the dough into a ball. Let it rest for about 15 minutes.
- Preheat the Oven: About 30 minutes before baking, place a Dutch oven (with the lid) in the oven and preheat to 450°F (232°C).
- Bake the Bread: Carefully remove the hot Dutch oven from the oven. Place the dough into the pot (you can use parchment paper for easier handling). Cover with the lid and bake for 30 minutes.
- Finish Baking: Remove the lid and bake for an additional 15-20 minutes, or until the bread is golden brown and sounds hollow when tapped on the bottom.
- Cool: Transfer the bread to a wire rack and let it cool completely before slicing.
Cook and Prep Times
- Prep Time: 15 minutes
- Rise Time: 12-18 hours
- Cook Time: 45-50 minutes
- Total Time: 13-19 hours
- Servings: 1 loaf
- Calories: 120kcal per slice
- Fat: 0.5g
- Protein: 3g
- Carbohydrates: 24g