Microsoft Word is known for the utility it provides for offices and schools as well as students. However, one must also realize the importance of utilizing these tools displayed to step up your game, whether you’re a professional, a teacher, or a student. Header and Heading styles are two different things. This article serves to aid you in how to remove header and heading styles in word.
First, you have to Insert Header, choose Header, and then Remove Header to remove your header. As for heading styles, highlight the text you want to make changes with. Choose Normal in the array of styles displayed in the ribbon. For a better grasp and clearer visualization, we’ll discuss this even further.
Removing Your Header: Manual Method
A header is located at the top margin of your document and is present among other pages of your file. It’s useful for inserting some fancy edge to your document title, your name, and more.

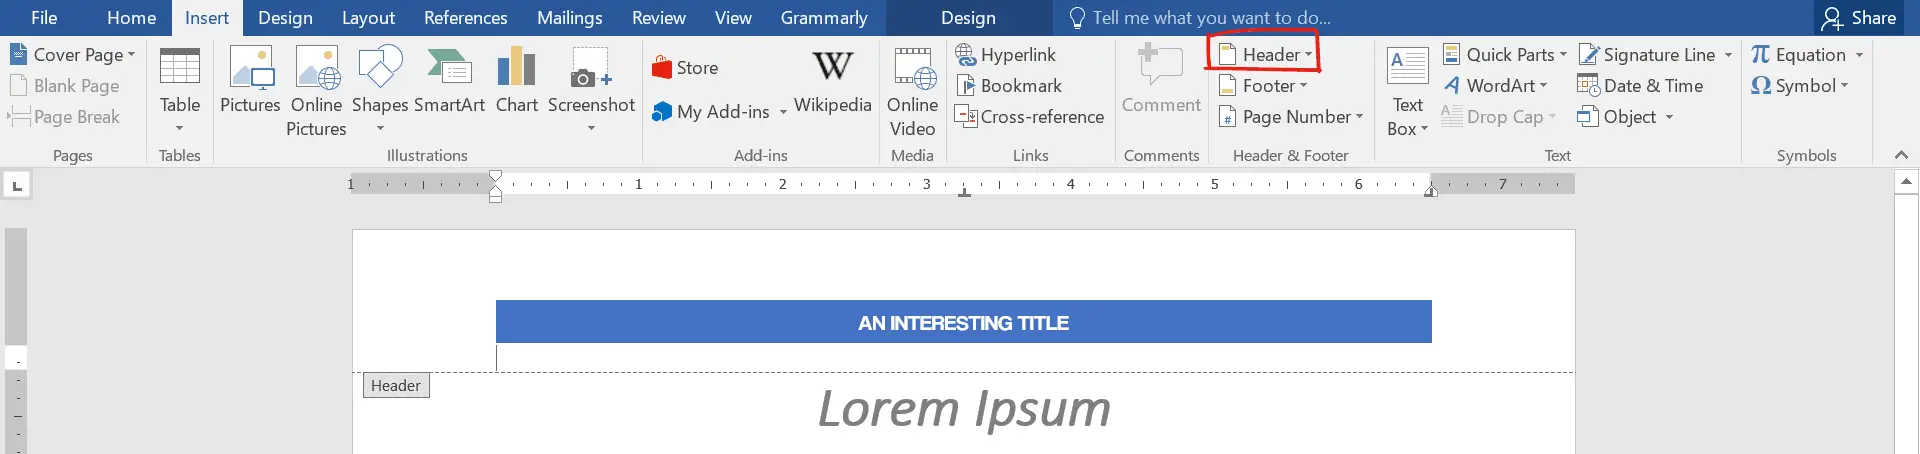
This is what a header looks like for reference.
To remove this, simply go over to Insert and in the Header & Footer group, click header.
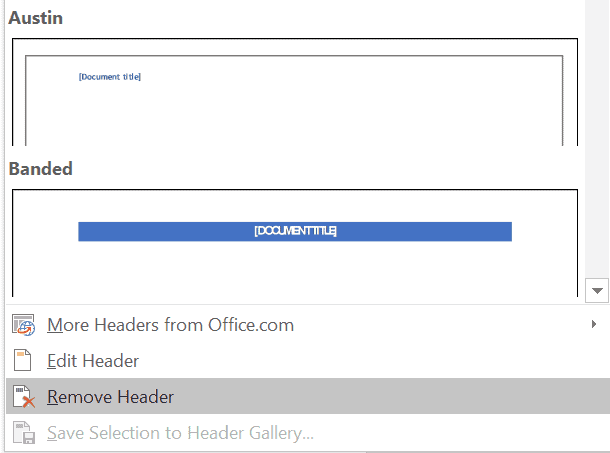
On the drop down menu, you’ll be met by an array of header themes. Below that, click Remove Header.
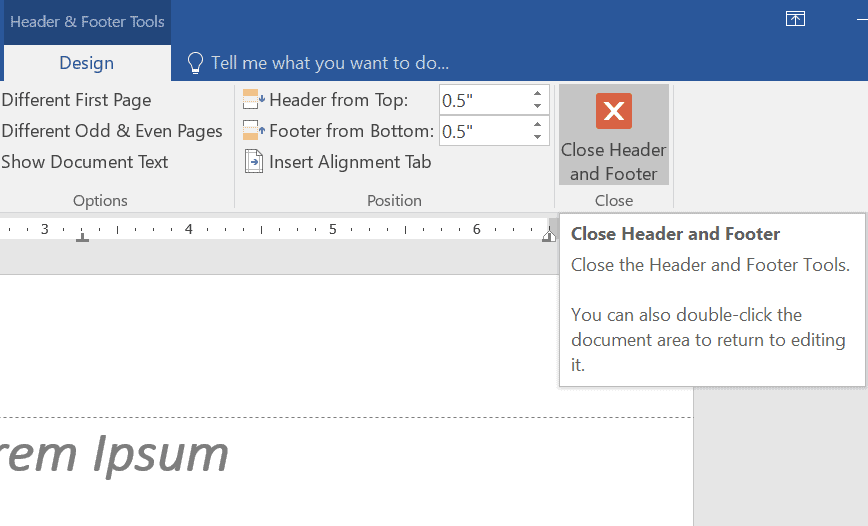
To go back to writing, head over to Design and then click Close Header and Footer OR simply double-click your document to continue editing.
And that’s it! You’ve successfully removed your header. If this seems too slow or a bit of a hassle for you, no worries; there’s another method.
Removing your Header: Delete Key Method
Another way of removing your header is by using the Delete key. To do this, you need to do the following steps:
- Double-click your header
- Select all the contents in your header
- Press the Delete key and double-click your document area to go back to editing.
This method is most efficient and saves you the hassle. So don’t hesitate to try it!
Now that you’ve successfully learned how to remove your header let’s head over to Heading Styles. Keep in mind that header and heading styles are two different things. In this section, you’ll now learn how to remove your heading styles. Read on for an in-depth guide on how to do this.
Removing your Heading Styles: Manual Method
A heading is rather easier to access and make changes with compared to a header. Heading styles are located on your ribbon, and they display an array of styles you can choose from to make your document more appealing.

This is the part of the ribbon where it displays the heading styles.
To remove your heading style using the manual method follow these steps:
- Highlight the text that you want to make changes with.
- Hover over to heading styles
- And then choose the Normal style.
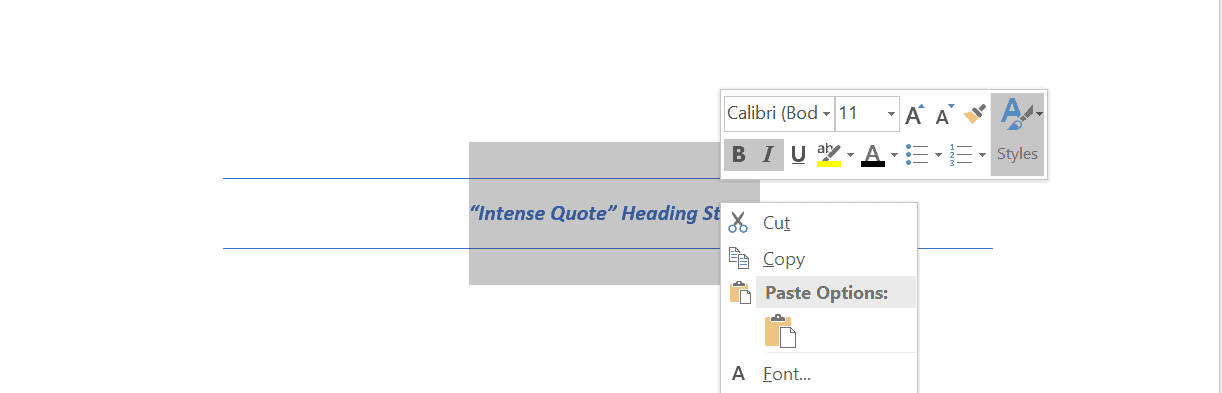
- Refer to the picture below:

The heading used to be “Intense Quote” until we changed it to “Normal.”
This isn’t the only method you can do for this one. There are other ones that we will show as you read on.
Removing your Heading Style: Right Click Method
Another effective method is the Right Click Method. But how do we do that?
- Go over to your heading and highlight it.
- Right-click and then choose Styles.
- You’ll see an array of heading styles like the ones in the ribbon.
- Choose Normal to remove the style.
From the Styles, you can choose Normal to remove the heading style successfully.
Apart from the Right Click method and the Manual method, you can also opt for the Clear All Formatting Method.
Removing your Heading Style: Clear All Formatting Method

This is very simple to do, you just have to simply
- Highlight your heading or text
- Go over to your ribbon in the Font group
- Click on the icon with the letter A and an eraser with it. (also known as Clear All Formatting).
- This removes any changes done to your text, leaving it only to be a raw text with no other modifications such as text effects and typography, spacing, font size, font color, etc.
Congratulations! You’ve successfully learned how to remove not only your header but also your heading styles. Learning the fundamentals of Microsoft Word will save you time and effort, especially when things are done efficiently, conveniently, and neatly. You can explore around more if you find more things that you can tweak around Word. You needn’t worry about running out of options here; Microsoft Word is rich in tools that can aid you in glamorizing and finalizing your documents, making them look professional, easy on the eyes, and compact.
Also read How to prepare for GMAT?