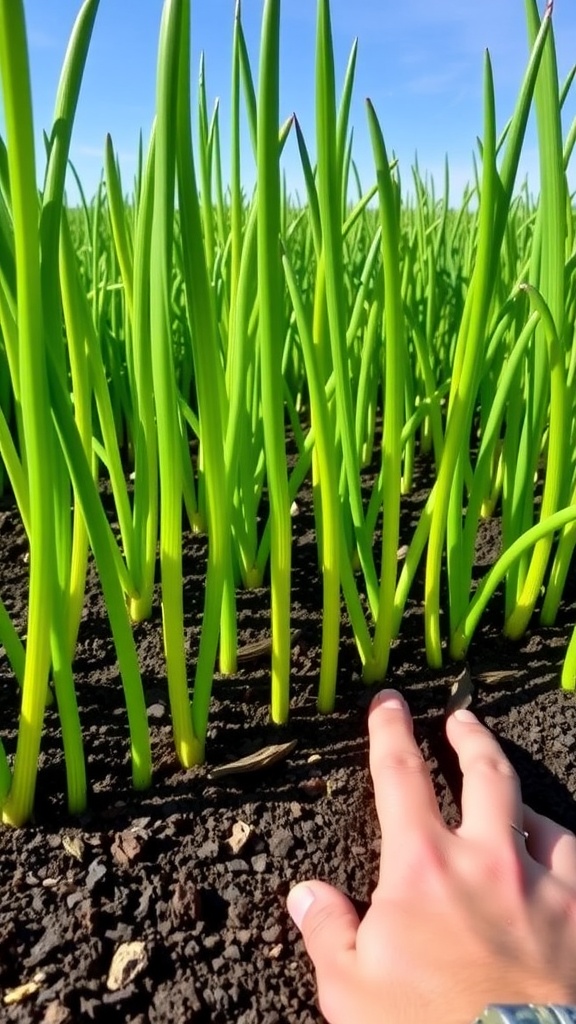
Growing garlic in Zone 7 can be a rewarding experience, yielding flavorful bulbs that enhance your culinary creations. Whether you’re an experienced gardener or a beginner, this guide will walk you through the steps to successfully plant and cultivate garlic for a bountiful harvest.
Garlic thrives in well-drained soil and full sunlight, making it a perfect addition to your garden. As you prepare to plant, consider the best varieties suited for your growing zone to ensure optimal results.
Choosing the Right Garlic Varieties
Selecting the appropriate garlic variety is fundamental for a successful garden. In Zone 7, both Softneck and Hardneck garlic thrive, each offering unique flavors and characteristics.
Softneck varieties are often favored for their adaptability and longer storage life, making them ideal for culinary uses. Meanwhile, Hardneck types produce a more robust flavor and are known for their distinctive flower stalks.
When choosing, consider your intended use and personal taste. This decision will influence not only the flavor of your dishes but also the overall gardening experience.
Preparing the Soil
Garlic flourishes in well-drained soil rich in nutrients. Prior to planting, it’s essential to prepare the garden bed properly.
Incorporating organic compost into the soil enhances fertility and encourages robust growth. Aim for a loose, crumbly texture that allows for proper drainage, as garlic roots dislike sitting in waterlogged conditions.
Testing the soil pH can also be beneficial; garlic prefers a slightly acidic to neutral pH for optimal development.
Planting Garlic Cloves
The timing for planting garlic is critical, especially in Zone 7. Typically, cloves should be planted in the fall, ideally six weeks before the first expected frost.
When planting, separate the garlic bulbs into individual cloves, keeping their skins intact. Position each clove about two inches deep, ensuring the pointed end faces upward. Space them approximately six inches apart to promote healthy growth.
Mulching after planting aids in retaining moisture while suppressing weeds, creating a nurturing environment for the garlic to thrive.
Maintaining Your Garlic Bed
After planting, care continues through the winter months. Lightly water the garlic bed immediately after planting and maintain consistent moisture levels.
As temperatures rise in spring, remove the mulch to allow sunlight and air circulation. Regular watering during this period is crucial, ensuring that the young shoots receive adequate nourishment.
Monitoring for any signs of pest activity or disease will help keep the plants healthy, allowing them to flourish as they head toward harvest time.
Harvesting and Enjoying Your Garlic
Harvesting garlic is a thrilling reward for the gardener. Timing is key; typically, garlic is ready to be harvested in mid to late summer when the lower leaves begin to yellow.
Carefully dig up the bulbs, taking care not to damage them. Once harvested, allow the garlic to cure in a cool, dark place for several weeks, enhancing its flavor and shelf life.
Homegrown garlic offers a depth of flavor that elevates countless culinary creations, making all the effort worthwhile.
Health Benefits of Garlic
Beyond its culinary delights, garlic is renowned for its health benefits. Rich in antioxidants, it supports heart health and possesses anti-inflammatory properties.
Incorporating fresh garlic into your diet can contribute to overall wellness, making it not just a flavorful addition but a nutritious one too.
Whether used in cooking or enjoyed raw, the benefits of garlic are plentiful, adding value to your gardening efforts.
Step-by-Step Guide to Planting Garlic

In Zone 7, garlic can be planted in the fall for a summer harvest. The cloves develop roots over the winter months, leading to robust growth when warmer weather arrives.
The taste of homegrown garlic is unmatched, offering a pungent, rich flavor that can elevate any dish. You’ll appreciate the depth of flavor that fresh garlic brings to your cooking.
Ingredients
- Garlic bulbs (choose a variety such as Softneck or Hardneck)
- Well-drained soil
- Organic compost
- Mulch (straw or leaves)
Instructions
- Choose the Right Time: Plant garlic cloves in the fall, ideally six weeks before the ground freezes.
- Prepare the Soil: Work organic compost into the soil to enhance nutrients and drainage.
- Select and Separate Cloves: Choose healthy bulbs and separate them into individual cloves, leaving the skins intact.
- Plant the Cloves: Plant cloves 2 inches deep, with the pointed end facing up, and space them about 6 inches apart.
- Mulch: Apply a layer of mulch to retain moisture and suppress weeds.
- Watering: Water the garlic lightly after planting and maintain consistent moisture until winter.
- Spring Care: As the weather warms, remove the mulch and ensure the garlic receives regular watering and sunlight.
Cook and Prep Times
- Prep Time: 30 minutes
- Planting Time: 15 minutes
- Total Time: 45 minutes
- Health Benefits: [‘Rich in antioxidants’, ‘Supports heart health’, ‘Anti-inflammatory properties’]