
It is no secret that visuals and symbols are the most effective tools for making your text interactive. Word has supplied several such interactive symbols for the same. Let us get right into a detailed guide to add the mail/envelope symbol in Word in simple steps.
Helping you save time, here is a thorough step-by-step guide to three simple ways to insert the mail/ envelope symbol (✉) to your word document. Windows allows several ways to insert any symbol into your text. These include using shortcuts with Alt Code, copy-pasting the desired symbol, or using the symbol dialog.
How to Add the Mail/Envelope Symbol in Word?
- Using Shortcuts with Alt Code
Windows has supplied specific shortcut codes or Alt Codes for all the symbols inserted in a word text. The Alt Code for the mail/envelope symbol is 9993. To use this Alt Code to insert the envelope symbol, follow the steps below:
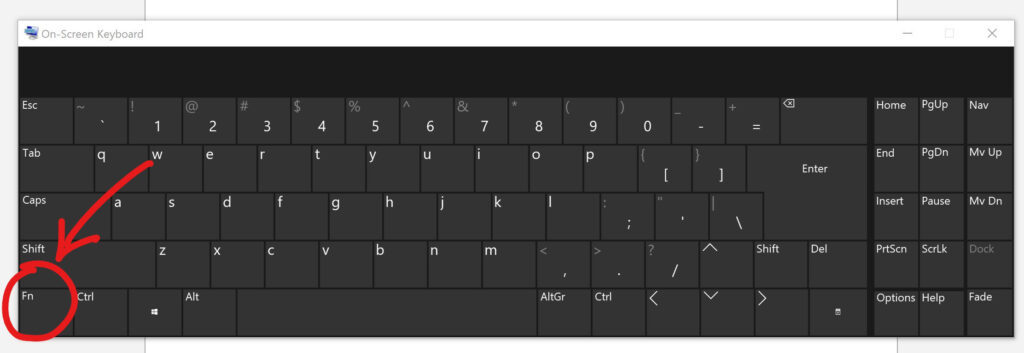
- Press the num lock key enabling the numeric keypad. On laptops, press the Fn key + NumLk key to enabling the numeric keypad.
- Press down on the Alt key and, using the numeric keyboard type the desired Alt code, in this case, 9993.

- Release the Alt key after you have typed the code.
The envelope symbol ✉ should be visible now.
Note: If you are using a tablet with a detachable keyboard like a Windows Surface, then you just need to press the Fn key to enable the numeric keypad.
- Using the Copy-Paste Method
A quite simple way to get any desired symbol to your word text is by using the copy-paste method. You can do this by following the steps below:
- Take your cursor to the mail/envelope symbol here: ✉
- Press down the right side of your mouse to select the symbol, or press down the shift key on your keyboard and press the right arrow key to select the symbol. The symbol should now be highlighted.
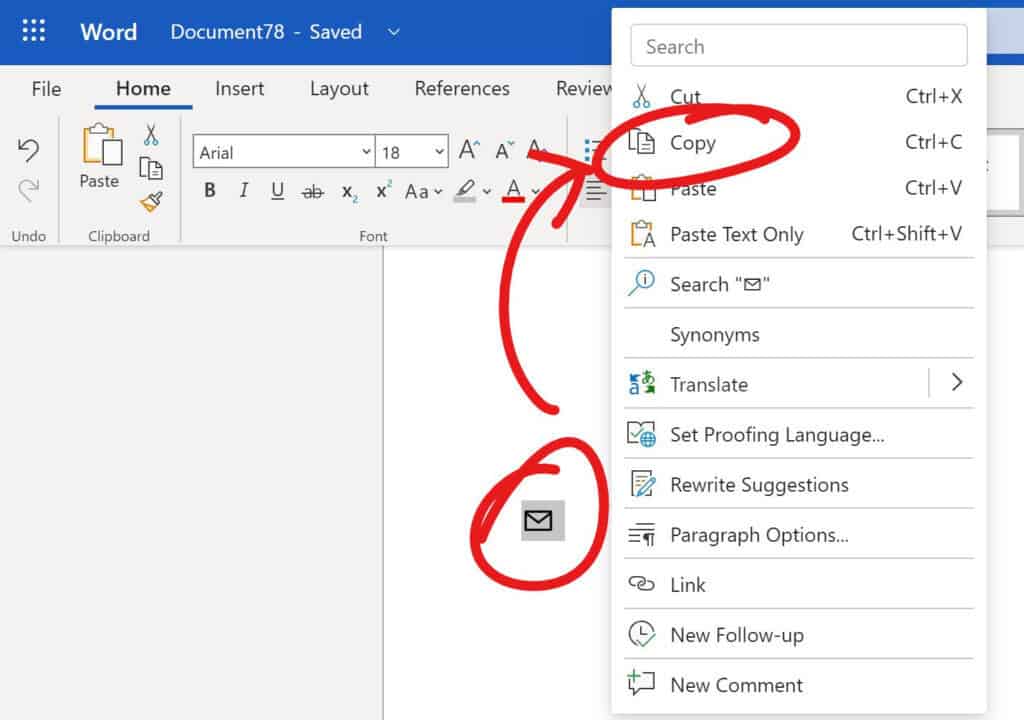
- Right-click the highlighted symbol and select copy from the drop-down menu or use the shortcut key Ctrl + C to copy the symbol.
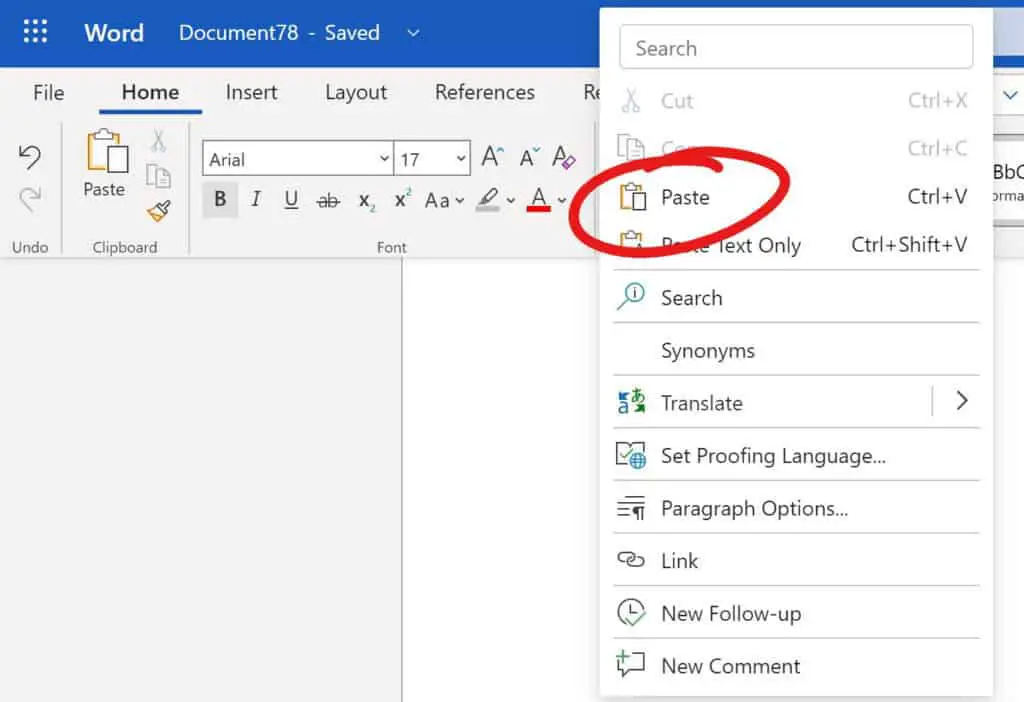
- To paste the copied symbol right click on the desired spot and select paste from the drop-down menu or use the shortcut Ctrl + V to paste in the desired spot.
- Alternatively, you can google search the desired symbol and copy it from there.
Note: Make sure the symbol you google searched is in text format and not an image.
- Using the Insert Symbol Dialog
In comparison to the other two methods, this one is more complicated. But with the very simple steps given below, it is going to be a piece of cake.
- Find the Insert tab on the top left of your word document.
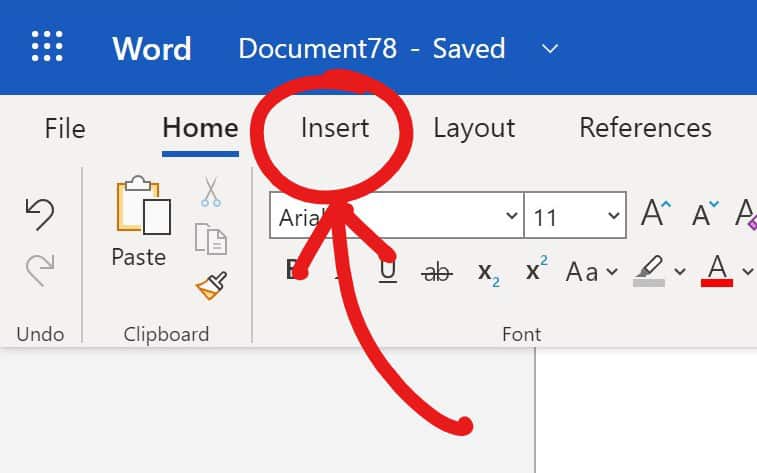
- In the Insert tab, click on the symbol tab and then select More Symbols. The Symbol Dialog Box should now be open.
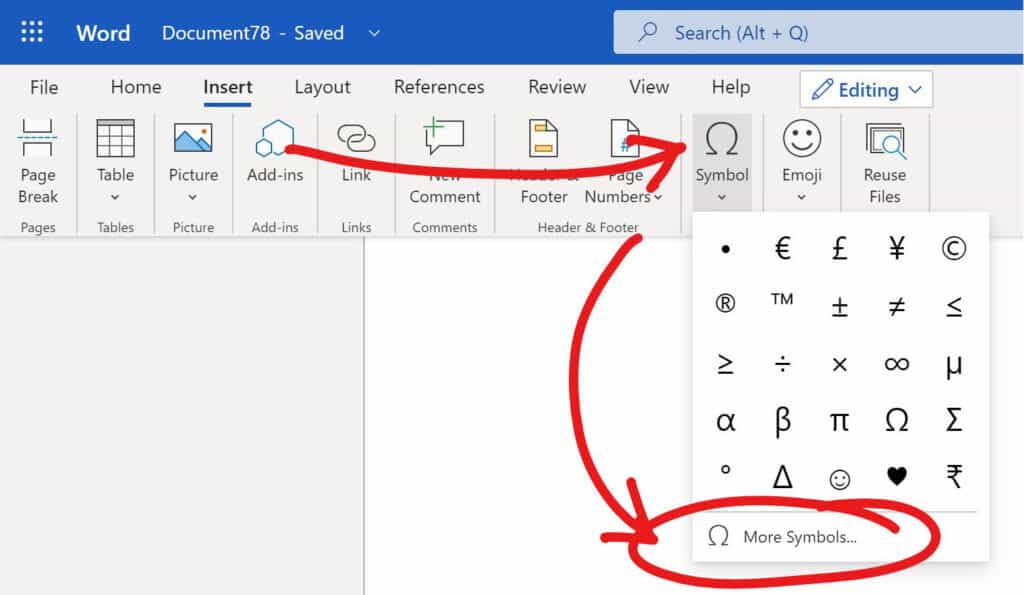
- Locate the desired symbol.
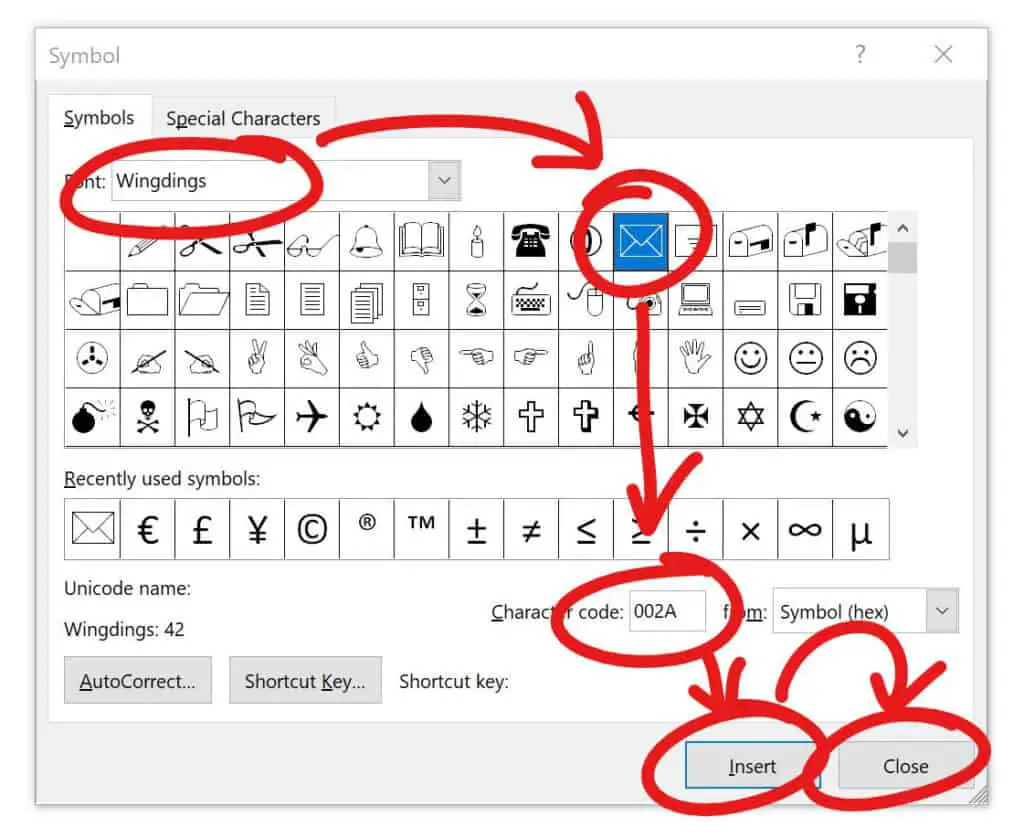
To locate the Envelope symbol in the dialog box, change the option to Wingdings in the Font drop-down. Next, in the bottom right corner of the dialog box, locate the character code field and type 002A. This should select the symbol you want to insert.
- Click the insert button.
- Another way is to double-click the symbol you want to insert if you already see it on the dialog box.
- Click the close button.
The desired symbol should now be visible on your word document.
Frequently Asked Questions
- Is pressing the Fn key enough on a tablet?
Yes, pressing the Fn key on your detachable keyboard will enable the numeric keyboard. You can find the same Fn key on the on-screen keyboard on your tablet.
- Can I use the same methods in Word online?
Yes, you can use all three methods in word online to insert any symbol. However, it is important to note that only the copy-paste method will work in the student subscription of Word 360. To use the other methods, you need to buy the full subscription.
- Can I change the size of the symbol?
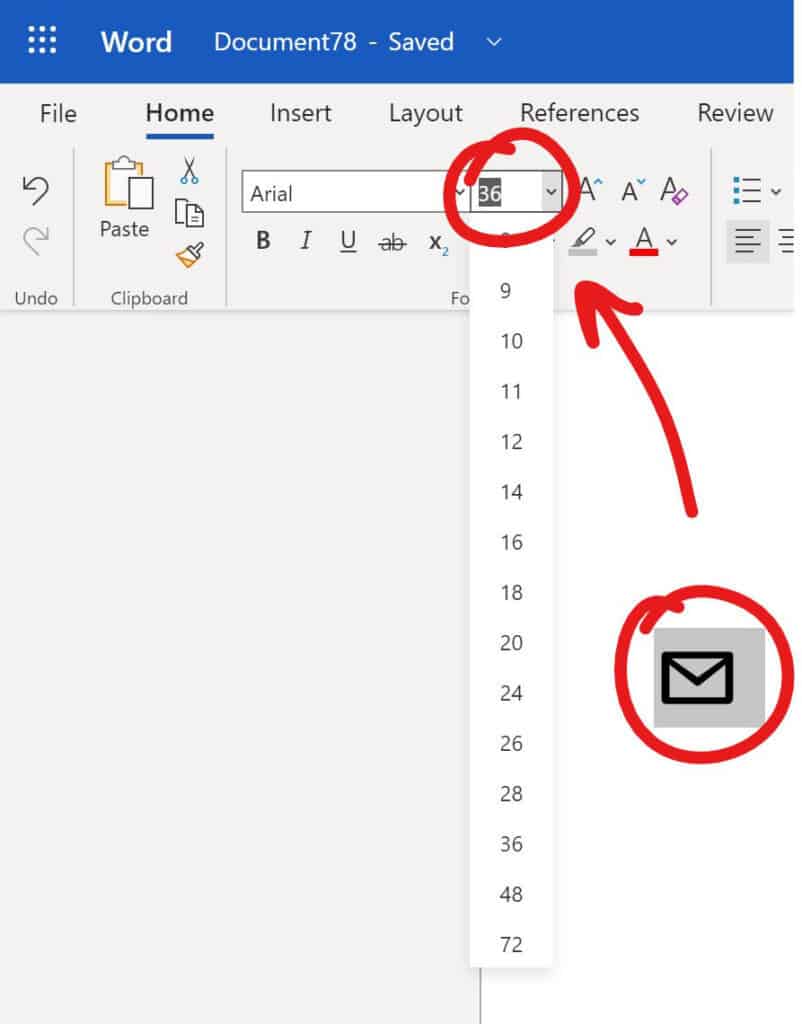
Yes. To change the size of the symbol, you can highlight it and choose the size Font Size bar next to the Font Name bar on the top-left side of your word document.
Inserting the Mail/Envelope symbol
If you have reached so far and you are not breathing too hard, then you have successfully followed the simple steps and can see this symbol ✉ on your document. You can use any of the three methods described above to insert any desired symbol according to your need. All three methods are described in detail. You can now easily use the direct shortcuts with the right Alt Code, copy-paste the symbol, or use the Insert Symbol Dialog box. The general exceptions are applied to tabled keyboards only. If you have any general queries or comments, please feel free to use the comment section below and leave them there.
Also read How to Insert a Checkbox In Word (☒) with Screenshots?